C# WinForms ContextMenuStrip

The ContextMenuStrip control component is found in the System.Windows.Forms namespace within the System.Windows.Forms.dll. In this blog post I am referring to the ContextMenuStrip control that is available in C# .NET-Core (.NET 6.0) with Visual Studio 2022 (although this code example might still work OK with older .NET versions).
The ContextMenuStrip component represents a shortcut menu, which appears as a temporary popup menu whenever a user right mouse clicks onto an object which is bound to a ContextMenuStrip component. The ContextMenuStrip component replaces its predecessor the ContextMenu component of previous versions, even though the ContextMenu object is still retained in .NET for both backward and forward compatibility. The ContextMenuStrip component inherits a lot from the ToolStrip object, and as such the definitions may refer to it often in an attempt to relate to specific components of the object.
The ContextMenuStrip component can be associated with and bound to any control, both at design time and at run time, including the Form itself, which will display the shortcut menu upon a right mouse click on that control. You can also show a ContextMenuStrip programmatically by using the Show method.
Cancelable Opening and Closing events to handle dynamic population and multiple-click scenarios are supported by the ContextMenuStrip component.
The ContextMenuStrip component also supports images, menu-item check states, text, access keys, shortcuts, and cascading menus.
Set the ContextMenuStrip's ShowCheckMargin property to True to add space to the left of a MenuItem for a check mark that shows that the menu item is enabled or selected. The ShowImageMargin property is set to True by default, which adds a space to the left of the MenuItem to display an image for that menu item.
Example Source Code
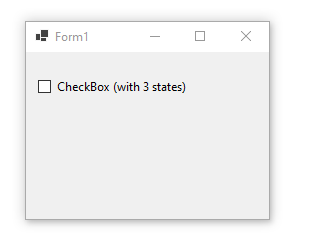
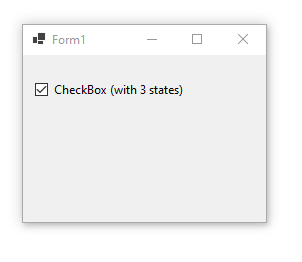
This example uses a ContextMenuStrip component, along with a CheckBox control.
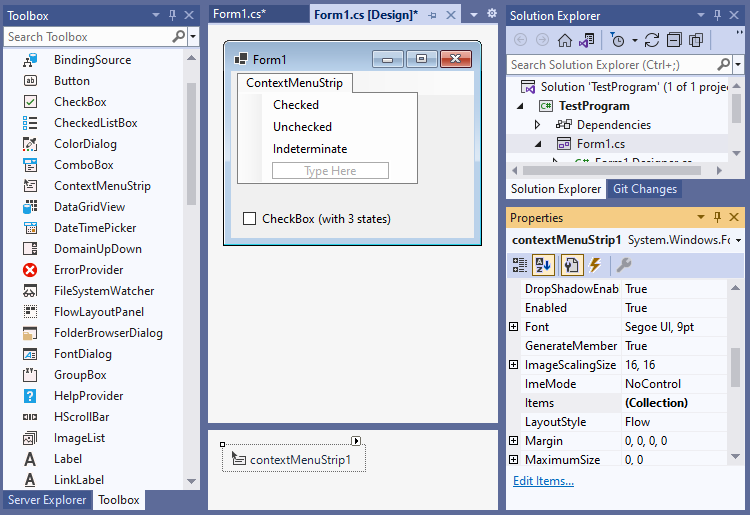
To add the ContextMenuStrip component to your form, you can double click on its name (i.e. ContextMenuStrip) as listed in the Toolbox window panel within the Form editor window. Alternatively, you can single click on it and then drag and drop it onto your form. Once it is added, it will appear in a window located below the form, since it has no user interface and will not actually appear on the form itself, except during design time.
Once it is added, then you can select it in the Form editor, and then either add menu items to it from the Form Editor window and/or by its Items property within the Property window. You can also view and adjust all of its other property values in the Properties window.
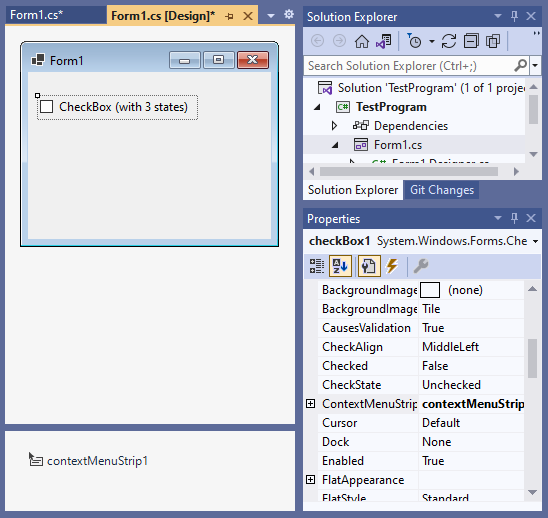
In the example below, I added a ContextMenuStrip to the Form, then selected it and viewed its Items properties in the Property window to add three menu items to its Items collection, and set their Text property values to be "Checked", "Unchecked", and "Indeterminate". I then double clicked onto each of the menu items to auto create and link their Click events to callback methods. I then added a CheckBox control to the form, and altered its properties so that it can have three states (checked, unchecked, and indeterminate) instead of its default two (checked and unchecked), as well as its Text and position property values as shown below. I then set the CheckBox's context menu strip property to bind it to the ContextMenuStrip component that I had added to the form. I then modified the source code for each of the three callback methods to set the CheckBox components checked state accordingly, based on which callback method is called:

using System;
using System.Collections.Generic;
using System.ComponentModel;
using System.Drawing;
using System.Text;
using System.Windows.Forms;
namespace TestProgram
{
public partial class Form1 : Form
{
public Form1 ()
{
InitializeComponent();
}
void Form1_Load (object sender, EventArgs e)
{
//
}
private void checkedToolStripMenuItem_Click (object sender, EventArgs e)
{
// set CheckBox state to Checked
checkBox1.CheckState = CheckState.Checked;
}
private void uncheckedToolStripMenuItem_Click (object sender, EventArgs e)
{
// set CheckBox state to Unchecked
checkBox1.CheckState = CheckState.Unchecked;
}
private void indeterminateToolStripMenuItem_Click (object sender, EventArgs e)
{
// set CheckBox state to Indeterminate
checkBox1.CheckState = CheckState.Indeterminate;
}
}
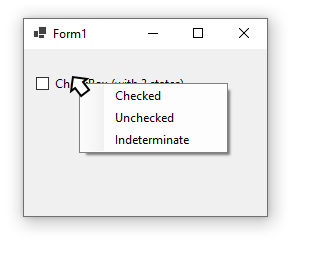
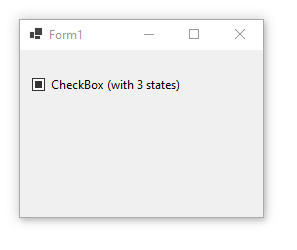
}When you run the above example, and then if you Right Mouse Click onto the CheckBox's text, then you should see a popup menu appear which will allow you to set the CheckBox's checked state by clicking on one of its menu items, similar to the following:
Final Thoughts
Thank you for reading, I hope you found this blog post (tutorial) educational and helpful.