C# WinForms LinkLabel Control

The LinkLabel control is found in the System.Windows.Forms namespace within the System.Windows.Forms.dll. In this blog post I am referring to the LinkLabel control that is available in C# .NET-Core (.NET 6.0) with Visual Studio 2022 (although this code example might still work OK with older .NET versions).
The purpose and function of a LinkLabel control is to provide the user with a Label control that can display hyperlinks and function as a hyperlink.
The LinkLabel control can represent one or multiple hyperlinks, meaning that the entire text displayed can either be associated with one hyperlink or that different portions of the text can each be associated with a different hyperlink.
The LinkLabel control is actually replaced by the newer ToolStripLabel control, which replaces and adds functionality to the Label and LinkLabel controls. However, the Label and LinkLabel controls are retained and can still be used for both backward and forward compatibility.
It should be noted that even if you set the TabStop property value to False, by adding new links to the Links collection the TabStop property will automatically reset itself back to True, therefore if you do not want tabs to work with the control then you will need to reset TabStop property back to False again each time after adding new links.
Similar to HTML hyperlinks, the LinkLabel provides a number of properties that help define the display appearance of hyperlinks in the control. The ActiveLinkColor, DisabledLinkColor, LinkColor, and VisitedLinkColor properties define the colors used when displaying a hyperlink in various states before and after someone clicks on it, which gives it the standard HTML hyperlink behavior that the users are familiar with and are expecting from hyperlinks.
Example Source Code
This example uses a LinkLabel control, along with the System.Diagnostics.Process class and a MessageBox object.
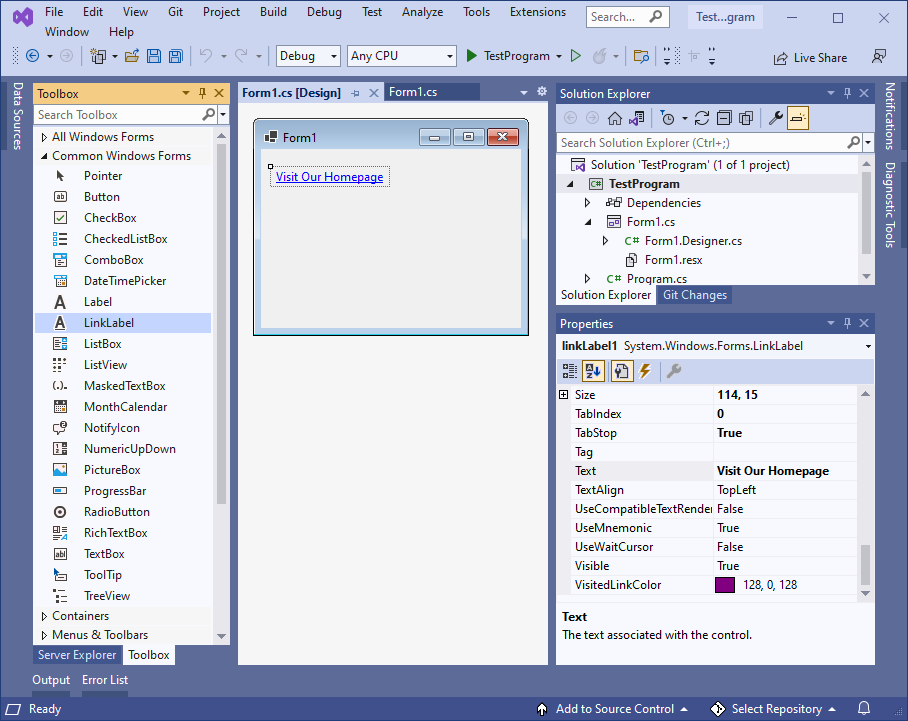
To add the LinkLabel control to your form, you can double click on its name (i.e. LinkLabel) as listed in the Toolbox window panel within the Form editor window. Alternatively, you can single click on it and then drag and drop it onto your form, to position it more closer to where you want it to be positioned at. Once it is added to the form then it will appear on the forms surface area having default control values.
After you have added the LinkLabel control to your form, then once you select it then you can view and edit that objects property values in the Properties window within the Forms editor window, where you can then change the controls Name, Text, and other properties as you desire.
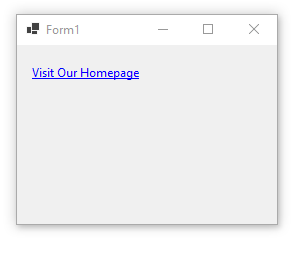
In the following example, I added a LinkLabel control to the Form, and then selected it so that I can view its properties within the Properties window. I then edited the LinkLabel's Text property by giving it a value of "Visit Our Homepage" as follows:
From the Form editor, I double clicked on the object that I had just added to the Form. Doing so automatically created and linked a callback method to that controls LinkClicked event into that forms .cs source code file, which I then programed an action to be performed. In this example I use System.Diagnostics.Process.Start() in an attempt to launch the users default browser and then navigate it to the target url:
namespace TestProgram
{
public partial class Form1 : Form
{
public Form1 ()
{
InitializeComponent ();
}
private void Form1_Load (object sender, EventArgs e)
{
// set the hyperlink target url
linkLabel1.Links[0].LinkData = "https://www.tjdivisions.com " ;
}
private void linkLabel1_LinkClicked (object sender, LinkLabelLinkClickedEventArgs e)
{
// get url of hyperlink clicked on
string ? target = e.Link.LinkData as string ;
// pre-check if data exists
if (target != null )
{
try
{
// open the users default browser and navigate it to our homepage website
System.Diagnostics.Process.Start(target);
}
catch (Exception ex)
{
// display error message
MessageBox .Show(ex.Message);
}
}
}
}
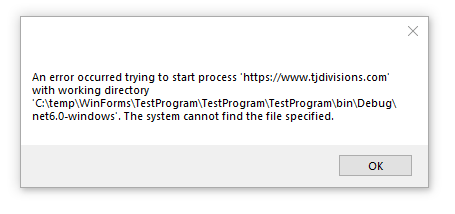
}However, when you run the above example and click on the LinkLabel's hyperlink then you might see some similar error message to the following:
Therefore, to ensure that an error is not generated then you should provide the full file path to the users browser application and then pass the target url as an additional argument instead of as the value:
namespace TestProgram
{
public partial class Form1 : Form
{
public Form1 ()
{
InitializeComponent ();
}
private void Form1_Load (object sender, EventArgs e)
{
// set the hyperlink target url
linkLabel1.Links[0].LinkData = "https://www.tjdivisions.com " ;
}
private void linkLabel1_LinkClicked (object sender, LinkLabelLinkClickedEventArgs e)
{
// get url of hyperlink clicked on
string ? target = e.Link.LinkData as string ;
// pre-check if data exists
if (target != null )
{
try
{
// open the users default browser and navigate it to our homepage website
//System.Diagnostics.Process.Start(target);
System.Diagnostics.Process .Start(@"C:\Program Files (x86)\Microsoft\Edge\Application\msedge.exe" , target);
}
catch (Exception ex)
{
// display error message
MessageBox .Show(ex.Message);
}
}
}
}
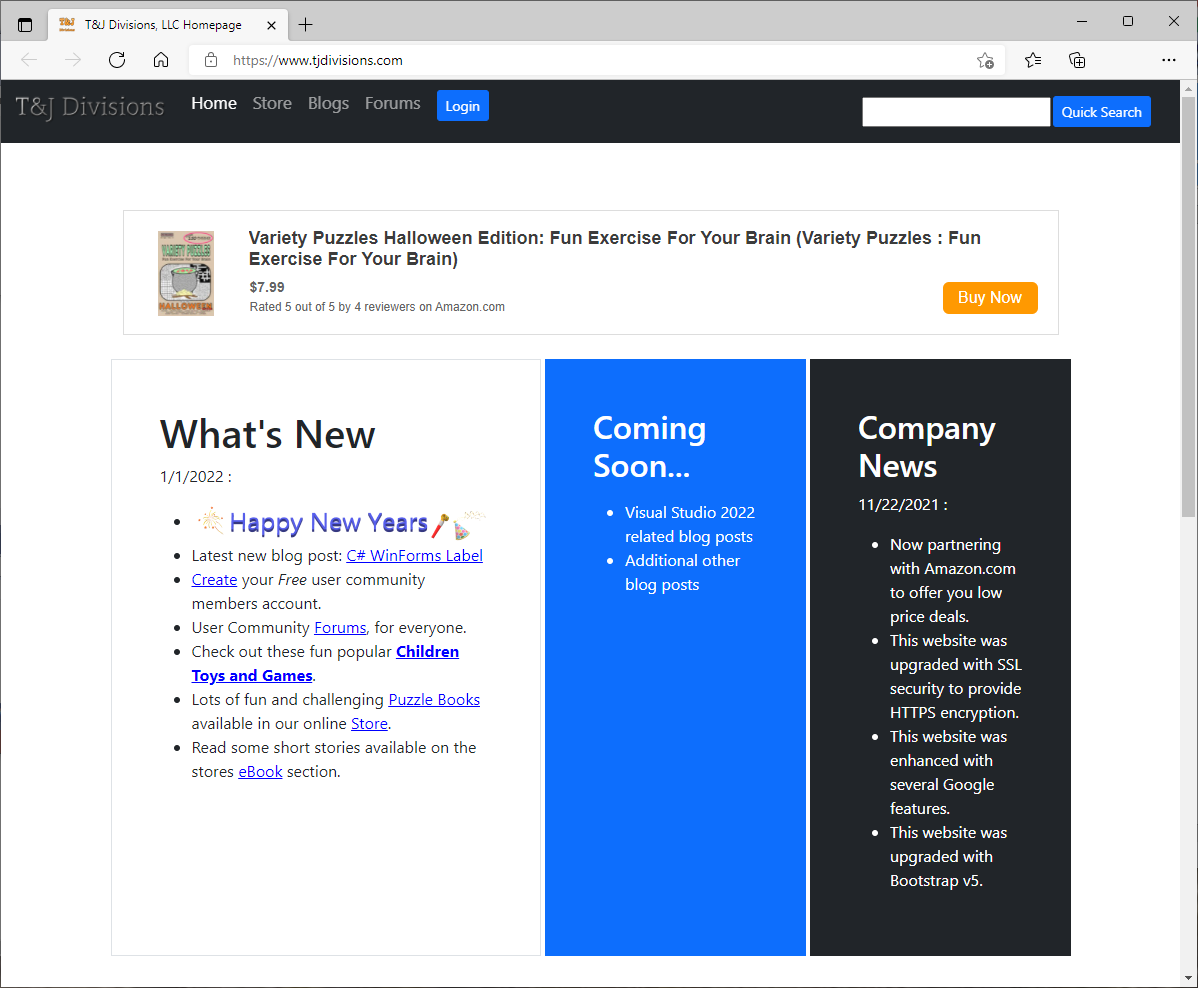
}Now when you run the above example and click on the LinkLabel's hyperlink then the browser should open and navigate to the target url:
Final Thoughts
Thank you for reading, I hope you found this blog post (tutorial) educational and helpful.