C# WinForms ColorDialog

The ColorDialog control component is found in the System.Windows.Forms namespace within the System.Windows.Forms.dll. In this blog post I am referring to the ColorDialog control that is available in C# .NET-Core (.NET 6.0) with Visual Studio 2022 (although this code example might still work OK with older .NET versions).
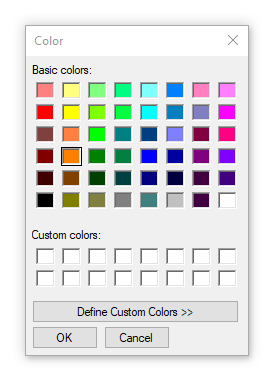
The purpose and function of a ColorDialog component is to produce and represent a common dialog box that displays available colors to the user which they can choose from. The produced color picking dialog box also provides controls that enable the user to define custom colors as well.
To generate and display this common dialog box to the user, call the ShowDialog method of the components object. Use the Color property to both Get and Set the current color selected by the user.

Example Source Code
This example uses a ColorDialog component, along with a Button control and a Label control.
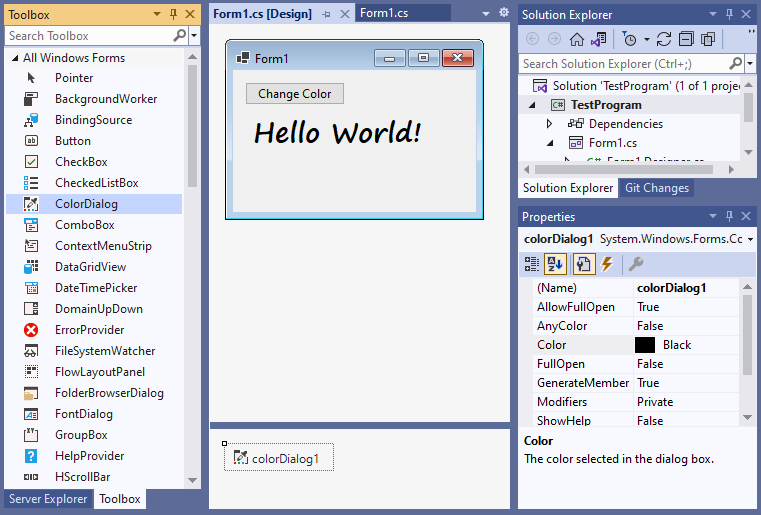
To add the ColorDialog component to your form, you can double click on its name (i.e. ColorDialog) as listed in the Toolbox window panel within the Form editor window. Alternatively, you can single click on it and then drag and drop it onto your form. Once it is added, it will appear in a window located below the form, since it has no user interface and will not actually appear on the form itself.
Once it is added, then you can select it in the Form editor and view and adjust its property values in the Properties window.
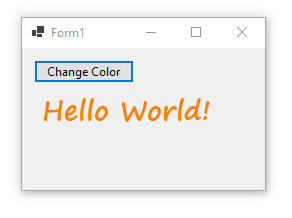
In the example below, I used the Form editor to add a ColorDialog component, a Button control and changed its Text property value to "Change Color" and double clicked on it to automatically generate and link a callback method to the buttons Click event, and a Label control and modified its Font and Text property values to display "Hello World!" in large font. In the source code I added code to the buttons callback method to set the ColorDialog component objects current color value, then prompt the user to select a new color, then update the texts color of the Label control to have that new selected color value:
using System;
using System.Collections.Generic;
using System.ComponentModel;
using System.Drawing;
using System.Text;
using System.Windows.Forms;
namespace TestProgram
{
public partial class Form1 : Form
{
public Form1 ()
{
InitializeComponent();
}
void Form1_Load (object sender, EventArgs e)
{
//
}
private void button1_Click (object sender, EventArgs e)
{
// get the current color value
colorDialog1.Color = label1.ForeColor;
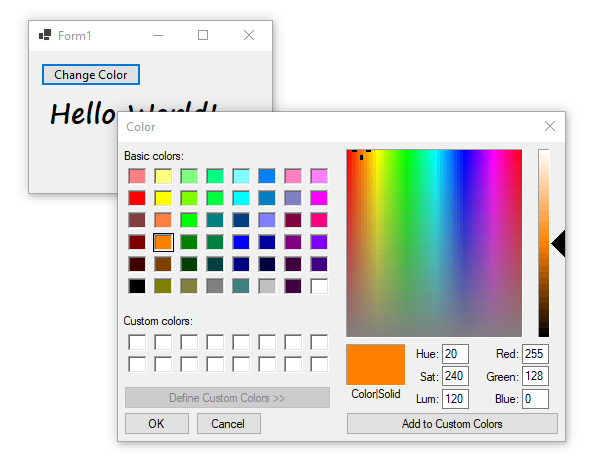
// prompt user with dialog to let them pick a new color
if(colorDialog1.ShowDialog () == DialogResult .OK)
{
// update the label with the new color
label1.ForeColor = colorDialog1.Color;
}
}
}
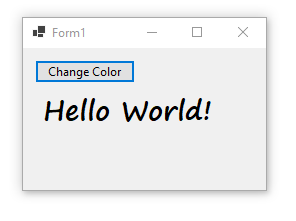
}When you run the above examples then you should see something similar to the following:
Final Thoughts
Thank you for reading, I hope you found this blog post (tutorial) educational and helpful.